

Hay is a staple winter food for many animals on smallholdings when grass is dormant. Horse & Hound acknowledge that many livestock owners are struggling to afford the rising costs of buying in hay and many are also questioning its quality. Making your own hay could save you money and reassure you of its quality, but how do you go about producing hay?
Back to Grass Roots
Before you begin, there are some things to consider. There are many benefits to making hay on your land. There are attractive cost incentives, such as no longer needing to pay for outsourced hay and reduced fertiliser costs compared to silage. However, producing hay is also good for the environment. It improves soil health and water quality, as well as increasing biodiversity for both wild flora and fauna.
There may be a few rules to follow before you start haymaking. Sites of Special Scientific Interest may need consent for management of your hay meadow, so you will need to check here if this applies to your land. Also, you will need to make sure that you have somewhere dry, free of rodents and protected from farm dust for storage, or this could negatively impact yield.
All livestock will need to be removed from the area no later than mid-May for the best grass growth. When your hay meadow is almost ready for harvesting, you will need to check for signs of nesting birds. Once you are sure they are all fledged, all that’s left to do is wait for some clear weather…

Sunshine & Haymaking Time
When you are sure of a decent period of warm, dry weather, it’s time to start mowing. It can be a good idea to leave a 2-metre unmown strip is left around the edge of the field for any wildlife. You will need a reliable tractor for the job and a few key attachments to start haymaking for the Summer.
Tractor mounted Disc mowers are ideal for this task, as they can clip long grass close to the ground, without mulching the cuttings, even on sloping terrain. As the name suggests, several discs with blades spin to slice and scatter the grass. When setting the cutting height, make sure to leave enough stubble to keep the cuttings off the ground. The cuttings can then be left to dry.
Over the next day or so it is important to turn the cuttings and rake them into rows ready for baling. Tractor driven Hay tedders are designed to turn and spread the cuttings for more efficient drying, while rotary hay rakes create lovely, neat windrows. Wheel hay rakes, also known as sun rakes, can spread, turn, and rake the hay into windrows. This can take a couple of days to get the hay dry, depending on the temperature, wind, and humidity, so it’s best to only rake into rows when almost ready to bale.
John Deere’s Tips Notebook gives a few handy tests to check whether the hay is dry enough for baling. A first check can be taking an armful of hay and feeling for any limp or damp hay, which should be dry and crackly. It will also smell warm and dusty. Then take a handful and try to pull it apart. If it comes apart on the first try, it is ready.
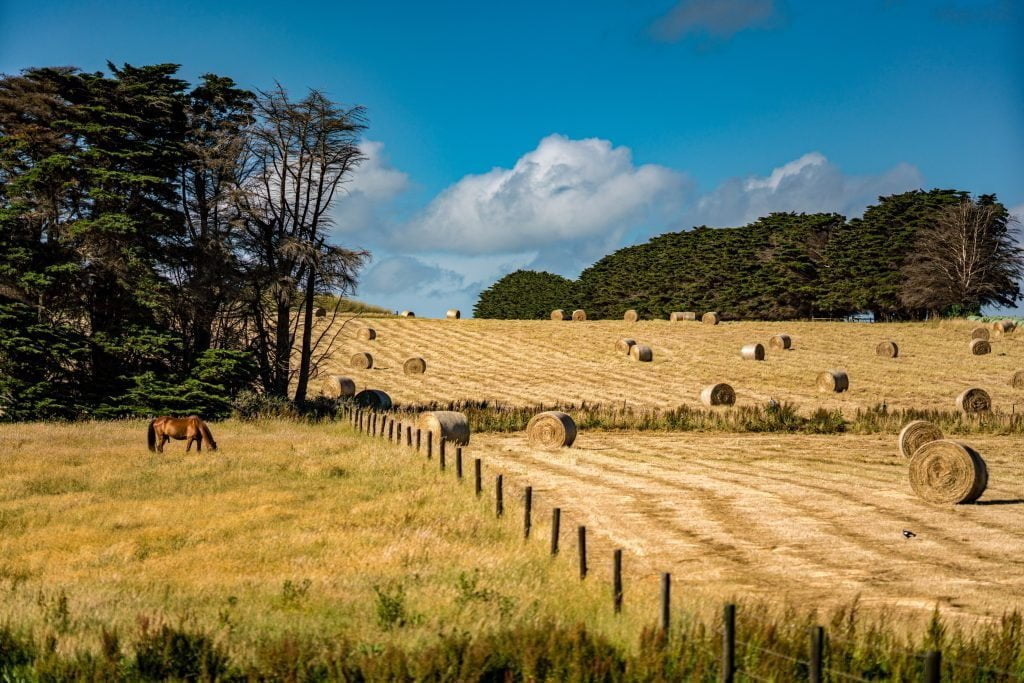
The windrows should ideally match the width of the baler pickup, which will create dense, well-shaped bales. These bales can then be stored, ready to feed your animals through the winter!
Farm Tech Supplies are exclusive UK distributor for FPM attachments from our premises in Hampshire with select dealers throughout the UK. We stock a wide range of tractor mounted haymaking equipment such as PTO disc mowers, hay tedders, and wheeled or rotary rakes. Please contact us for current availability and pricing.
Want to find an FPM dealer? Thinking of becoming an FPM dealer? Please get in touch!


